The upright cross stitch is exactly what it sounds like – a cross stitch that’s standing upright. It’s a smallish stitch and that makes it the perfect choice for a variety of design components. (Remember, a design component is an object on your canvas.)
It’s also easy peasy to compensate, which makes it a really terrific option for stitchers who are new to using canvas embroidery stitches to embellish their needlepoint canvases.
Here’s the diagram for you…

The numbers on the diagram indicate the order in which you should execute each leg of the stitch. Notice how each upright cross stitch is completed before moving across the row to the next unit?
That indicates a conservative pathway. (You can read more about stitch pathways here.)
You can see, too – by looking at the diagram – that the upright cross stitch units are staggered on each row. I typically begin on the right side of the area I’m covering since I’m right handed. If you’re left-handed, begin on the left side and reverse the number sequence.
Since it’s a small stitch, you don’t need much space to establish the pattern. In fact, its small size is one of the reasons I consider the upright cross stitch one of the 12 essential stitches every needlepointer should know.
Now, let’s take a closer look at a couple of uses for the upright cross stitch on your needlepoint projects…
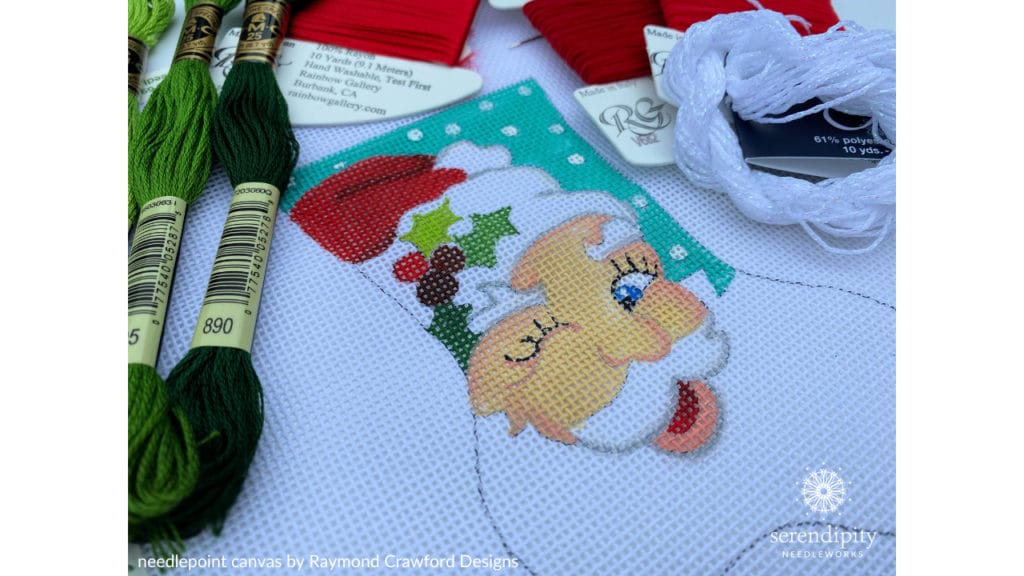
One of my favorite ways to use the upright cross stitch is on canvases that feature Santa Claus.
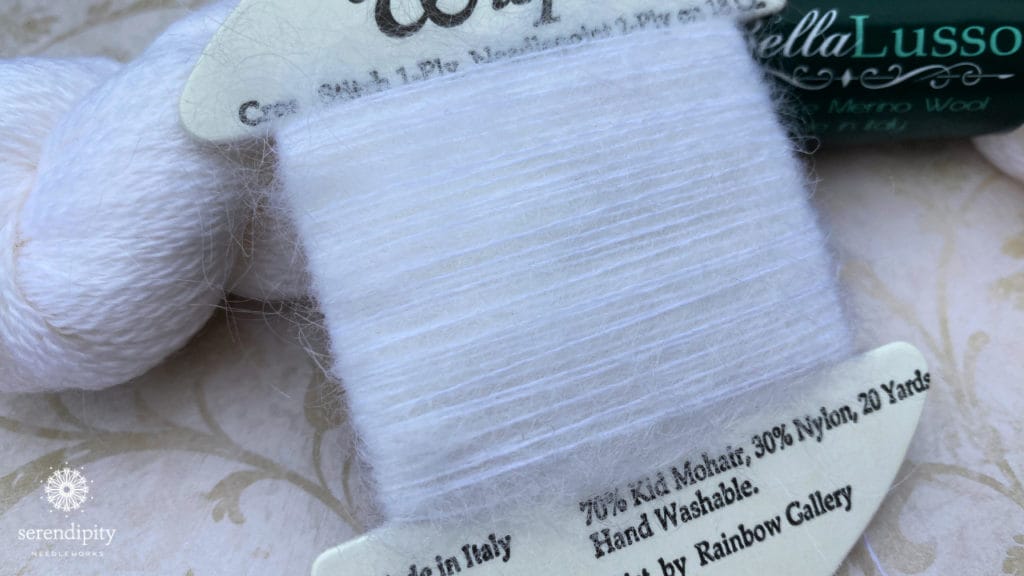
When stitching Santa Claus, my all-time favorite thread combination for his beard is Bella Lusso + Wisper.
Specifically, 1 strand of Bella Lusso (blanc) + 1 strand of Wisper (W88) on 18 mesh canvas and 3 strands of Bella Lusso (blanc) + 1 strand of Wisper (W88) for 13 mesh canvas.

There’s simply nothing else, in my opinion, that gives you the uber-soft and slightly fuzzy texture to create the perfect whiskers on Santa’s cheery face.
You may notice that my thread “recipe” calls for fewer strands of thread than you might typically use to cover the canvas completely. That’s because the upright cross stitch has multiple (2) layers. When you are working a layered stitch, you should opt for lighter weight thread – or fewer strands – so as to not create too much bulk on your canvas.
You can use the upright cross stitch for the fur trim on Santa’s suit, too.

The Bella Lusso + Wisper thread combination for Santa’s beard works equally as well for the fur trim on Santa’s coat and hat.
But if you want to add some sparkle to Santa’s suit, use Fuzzy Stuff (FZ15) or Glisten (G02)!
I recommend using one strand of Fuzzy Stuff on 18 mesh canvas. If you’re working on a 13 mesh canvas, use two strands of Fuzzy Stuff or one strand of Glisten. 🙂
And here’s a helpful hint for you…
Don’t use the upright cross stitch for BOTH Santa’s beard and the fuzzy fur trim on his suit on the same canvas.
Heck – you really shouldn’t even use the same thread for those areas.
Why? Because those design components are in close proximity to each other and if they happen to “touch” or intersect, using the same stitch (or thread combo) for both will result in a weird shaped blob instead of clearly defined areas.
Alrighty – that brings us to the end of our chat about the upright cross stitch. Join me again next time as we explore another needlepoint topic.
And if you decide to use the upright cross stitch on one of your canvases, please share a picture on social media. Make sure you tag me so I can find them. (Use the hashtag #serendipityneedleworks.) You just never know when you might see your project center stage on my Instagram or Facebook posts. 😉
Until next time, happy stitching…
XOXO!
Ellen
PS: I’m hosting three free needlepoint workshops this week. We’ll dive into the fundamentals of needlepoint. You can sign up to join me here. 🙂


Fabulous info,, Ellen! I have a Santa’s beard and some white fur areas I’ll be working on soon. I’ll give thos a try.
I’m so glad you found this blog post helpful, Lois! Please be sure and send me a picture. 😉
Happy stitching…
XOXO!
Ellen 🙂