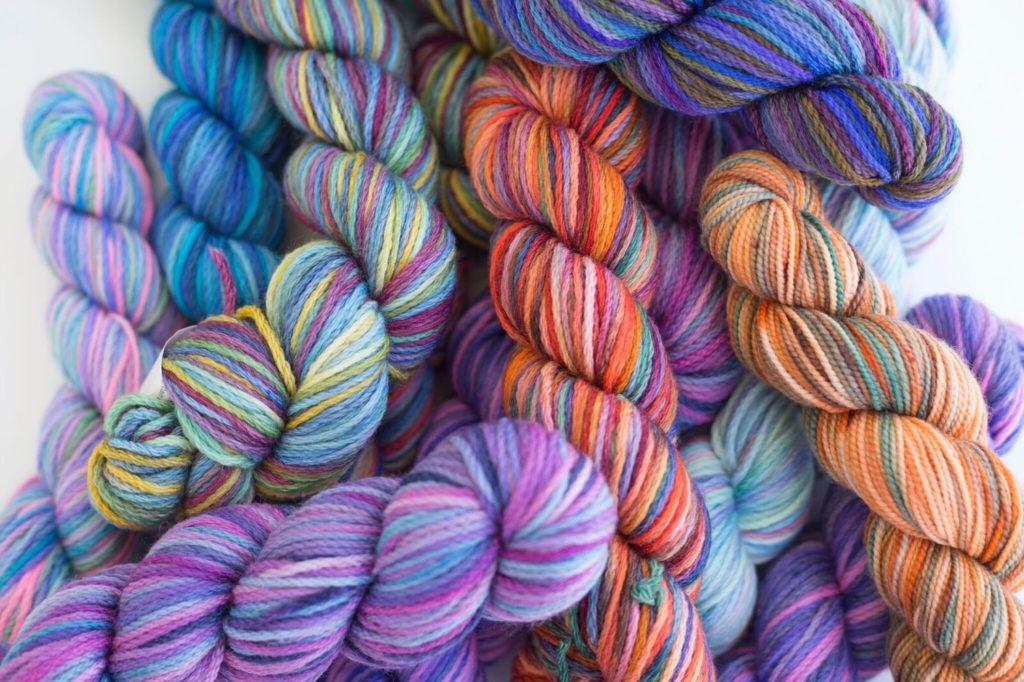
A couple of years ago, I became “acquainted” with Marie Kondo and her wonderful book, The Life-Changing Magic of Tidying Up. I read it, cover to cover, rather quickly (it’s a relatively short book) and, when I finished it, I committed to “konmari-ing” my house. Unfortunately, “the best-laid plans…” well, you know – and I didn’t quite get around to it then. I’m working on it now, though, and I’m finding the process works very well. You really should read it, if you haven’t. It’s quite sensible – and liberating! And if you don’t want to tackle your whole house right now, start small by organizing your stash.
Organizing Your Stash
Everyone knows when you’re a knitter, embroiderer, crocheter, needlepointer, cross-stitcher, quilter, or any other kind of self-proclaimed needle nut, loving all the beautiful and colorful yarns and threads is a cinch. It’s keeping them orderly that can be overwhelming, and it can feel like a monumental challenge! Whether you’re a beginner or a seasoned stitcher, organizing your stash will help you know what you have, find what you need, and inspire you to make projects you love.
Tips for Getting Your Stash Under Control
And it doesn’t matter what size your stash is…these 10 tips will help get yours under control so you can focus on the fun part — making beautiful hand made treasures for the special people in your life, and, of course Y-O-U!
1. Take some time to inventory what you have.
An easy way to sort your yarn is to label five large boxes or plastic bins as follows: “PIPs” (projects in progress), “Love this Fiber/Have a Pattern”, “Love this Fiber/No Pattern Yet”, “Hmmm…Not Sure” and, finally, “What Was I Thinking?” Take the time to look at and hold every skein (or at least one skein of each kind/color) before making your decision. If it brings you joy, then it’s a keeper. The rest should be set aside so that it can find a new home. Remember to take your space constraints into consideration throughout the organization process.
2. Separate your PIPs from your paraphernalia.
Keep your projects in progress within easy reach and separated from the rest of your stash. If they’re hard to get to — or out of sight — you’re much less likely to work on them (heck, you might even forget about them!). A decorative basket or storage ottoman works well to keep those projects handy.
3. Decorate your home with your yarns and threads.
Keep your “Love this Fiber” skeins easy to access by placing them in baskets, glass apothecary jars, etc. Unleash your creativity and let your imagination run wild…just remember to keep those treasured fibers away from pets, moisture, and dust.
4. Explore Pinterest to discover creative storage solutions for your stash.
Living with your treasures is a source of inspiration, so search out unique ways to make them a part of your living space. Follow our Let’s Get Organized board for ideas.
5. Decide how you want to sort your yarns/threads.
Will it be by weight, by fiber, or by color? Organizing your stash by groups will help you find what you need quickly and easily once you’ve chosen a project. The key is choosing a system that appeals to you.
6. Use Ravelry’s “Stash” function to organize information about your yarn.
Grab your smartphone and snap pictures of your yarn, then post them to the “Stash” section in your Ravelry notebook. Search for patterns, see what other people have made using the same yarn, store details like dye lot and yardage all in one convenient place! Not a member of Ravelry? No worries – joining is free and easy. (It’s like Facebook for fiber fanatics!)
7. Store yarns of a single dye lot together.
In other words, if you bought several skeins of a specific yarn in the same dye lot, bundle those yarns together when storing them so you’ll know exactly where every last skein is when it’s time to start your project. Glad Storage makes extra large zip-top plastic bags that are just the ticket!
8. Calling all frogs…rippit! rippit!
Have a project you’ve been meaning to rip out? (Get it? Rippit, rippit? Frogs? Tee hee!) Keep it in a basket nearby so you can make good use of your time during those around-the-house activities that don’t require your full attention. Netflix, anyone?
9. Protect your treasures from critters.
There are all kinds of little creepy-crawlies that would love to make your beautiful yarns and threads their home. I know…G-R-O-S-S! But it’s oh-so-true and you need to be sure and store your treasures in a clean, dry, well-lit place to keep those varmints on the run. Think there may have been some ne’er do wells nearby? Seal the suspect yarn/thread in a plastic bag and pop it in the freezer for a day or two. Pull it out, let it thaw, and then repeat the process to ensure that your lovelies are critter-free.
10. Let it go!
Really, it’s okay to get rid of that perfectly good yarn that just doesn’t bring you joy any more. Donate everything in the “What Was I Thinking” (and maybe even some of the “Hmmm…Not Sure”) box to charity, or give it to someone who’d find it delightful. You’ll make another person’s day brighter and you’ll have room for that luscious hand painted sock yarn that was calling your name just the other day.
And there you have it…ten tips for organizing your stash!
Oh – and now that you’ve read my ten tips, if you have a special tip you’d like to share, please use the comments box below. I can’t wait to hear from you!


