Sooo…what’s your feeling about metallic threads?
If you’re like a lot of stitchers, you have a love-hate relationship with them. You love the way they look, but you hate working with them. Well, guess what? I’m going to share some tips with you that’ll make working with metallic threads so much easier, you’ll be chomping at the bit to add a little bit of bling to everything you stitch. Sound good? Great – let’s dive in!
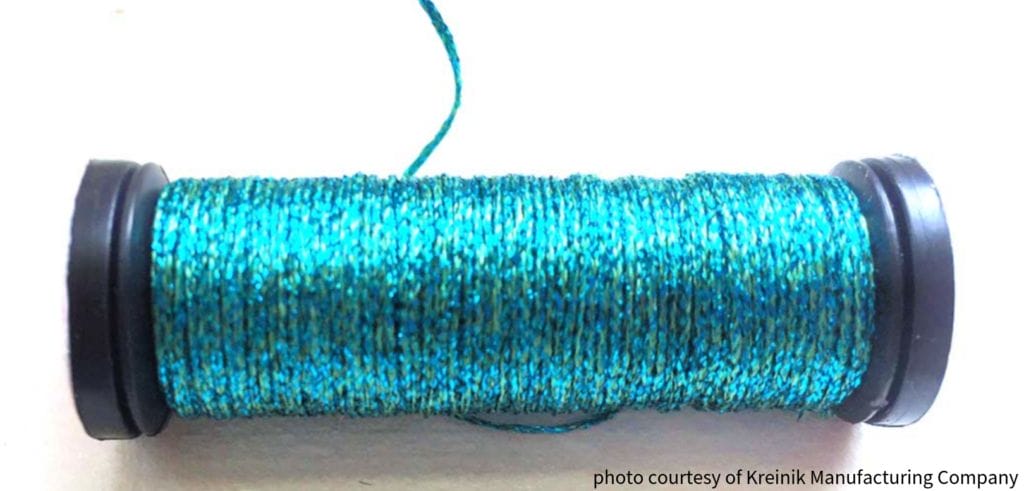
There are a variety of metallic threads available today. Some of them are real metal, like those you use in goldwork embroidery. Others are synthetic, like Kreinik and Rainbow Gallery metallic braids.
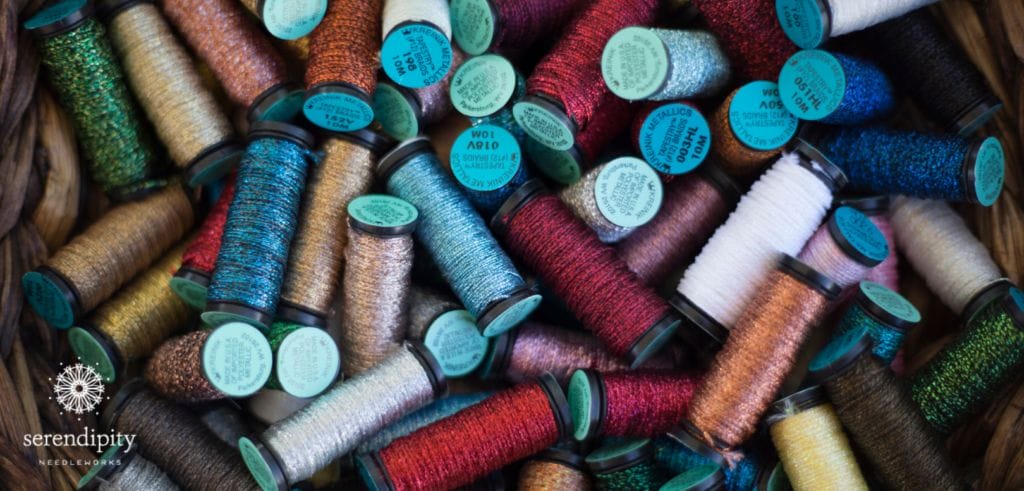
There are different sizes of metallic thread. In fact, there’s a size, color, and texture for every need – for everything from fine details to background work and filling stitches. As a general rule of thumb, you can use metallic threads anywhere a design component is naturally light-reflective.

Stitching with metallic threads really is quite easy when you know these tricks and tips…
- Work with shorter lengths of thread. I usually cut my pieces no longer than 14 inches; 12 is even better.
- You need to know that they’re going fray – there’s no way around it. You can minimize fraying by putting a dab of Fray Check on the ends, though. Just pre-cut your pieces, apply a tiny dot of Fray Check (or clear fingernail polish) on each end and let them dry. It may seem like a lot of hassle when all you want to do is stitch, but it’s well worth the extra time in the long run. (By pre-cutting your strands, you’re not tempted to cut one too long, either.)
- Use a needle one size larger than the canvas calls for. The larger needle opens up the canvas hole just a smidge more and allows that metallic thread to glide through, instead of dragging against the canvas threads. So, for example, if you’re stitching an 18 mesh canvas and you’ve been using a 24 tapestry needle, jump up to a 22 tapestry needle.
Here’s something else you need to know…
needles are sized so that the higher the number assigned to the needle, the finer it actually is. So, a size 24 needle is finer (or smaller) than a size 22 and a size 22 is finer (or smaller) than a 20, and so on.
While we’re chatting about needles, did you know that the eye of a needle is punched by a machine, so, it has a right side and a wrong side? If you’re having a hard time threading your needle, simply turn it over and try threading it from the other side. And if you want more tips for selecting the right needles for your projects, click here.
Now, back to metallic thread tips.
- It’s best to use the “stabbing” method of stitching when using metallic threads. Not sure what that means? Well, instead of using a sewing motion to make each stitch, you insert the needle vertically into the canvas from either top or bottom and pull it through to the other side. Oh – and using the stabbing method helps prevent fraying, too.
- Let your needle dangle every few stitches while you’re working on your project. That simple action allows the braid to relax – and it’ll cut down on knots and tangles, as well as aggravation.
- It’s essential that you work more slowly when you’re stitching with metallic threads, so relax and enjoy the process.
Let’s talk about that swirly curly braid and how to tame it.
I’ve found a couple of different things work really well to get the kinks out.
- A damp cosmetic sponge really helps smooth the thread. Yep, you read that right…those little foam sponges are good for more than applying your foundation. They also work really well for calming the curl in your Kreinik. Just soak one thoroughly in cool water, then squeeze out the excess. Next, fold it in half around your thread and slide the thread through the damp sponge. You’ll be amazed at how well this really works.
- And, if it’s not convenient to use that trick, try this one. Take the length of thread and hold it from one end in one hand. Then, using your thumb and index finger on your other hand – and starting at the top – next to where you’re holding the thread, slide your fingers down the length of the thread. Repeat this motion 10 or so times. That will tame it, too.
The magic Kreinik spool cap…
Did you know that Kreinik’s little black spools have nifty end caps that you can use to secure the end of thread after you cut it for your project? I didn’t either, for the longest time. (I learned that little trick at a class at market one summer!)
How do they work?
Well, both sides of the spool open, so look for the side where the thread end is located. Insert your thumbnail under the cap, and rotate the spool while gently lifting the cap to release the thread (the cap should not pop off). Snap the lid shut to secure the unused portion so it won’t unwind in your project bag.
The Medium (#16) and Heavy (#32) Braids have a lock-flange mechanism: the thread ‘locks’ in the groove around the top of the spool. Just pull the thread to release it or wrap the thread in the groove to secure the unused portion. Pretty cool, huh?!
Braids are (albeit, arguably) the most commonly used metallic thread in needlepoint…
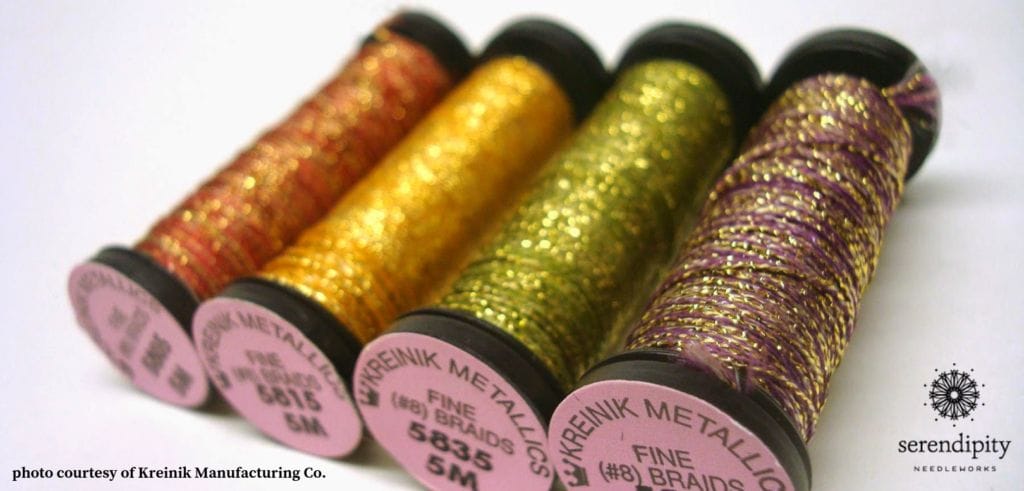
and they range in size from size 4 Very Fine Braid all the way up to size 32 Heavy Braid. Size 8 Fine Braid, size 12 Tapestry Braid, and size 16 Medium Braid are the ones I use the most – and I work on primarily 13 mesh and 18 mesh canvas.
Now, a little about how braids are constructed.
First, you can’t divide braids because, well, they’re braids. Thin strands are literally braided together during manufacturing to create the single strand that comes on those little black spools. That’s why there are so many different sizes – so you have a variety of options to help you achieve the look you’re trying to create on your canvas. Use them as a single strand in your needle.
You can use metallic braids to mimic color and texture in nature and everyday life…
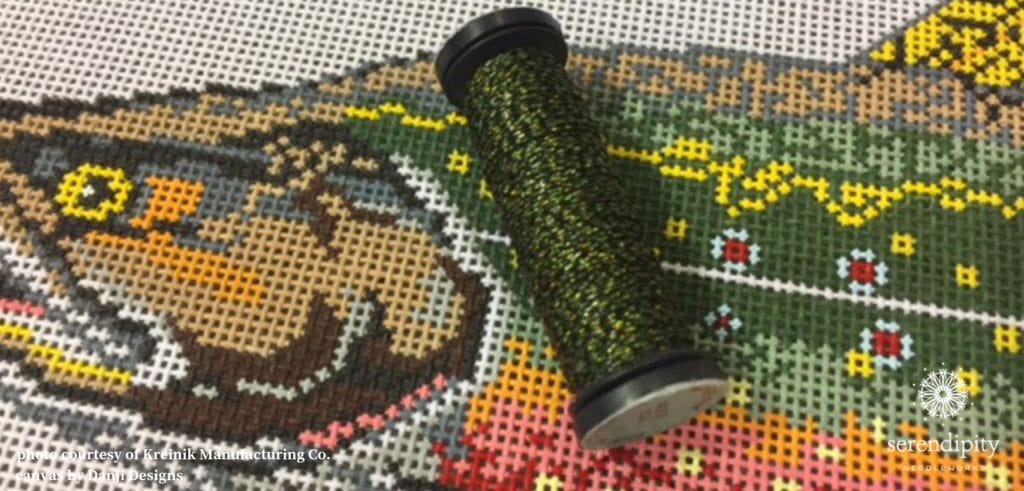
like snow that glistens, stars that glow, candlelight that flickers, and butterflies, fish and birds that shimmer.
Use their light-reflecting properties to evoke a particular mood in a design; imagine the mystical shimmer of a mermaid’s tail, the radiant glimmer of an angel’s wings, a sparkling summer lake or a glittering winter snowfall.
If you’d like to learn more about metallic threads, be sure to check out this episode of Needlepoint TV™.
Alrighty – that’s all for now, my friend.
Until next time, happy stitching!
XOXO!


Hi Ellen,
Delighted to find your website. It has already answered so many of my questions! I’m interested in needlepointing a collar for our new dog, Ruby, using metallic thread. She looks like Toto, hence the shimmery red collar.
Per your recommendations, I’ve got 18 mesh canvas and 22 tapestry needle. Can you please recommend which metallic thread to use? I’m still overwhelmed by the choices, sizes, brands, options.
Much appreciated!
Hi!
Thank you for your kind words about my website. What a fun project you have planned! If you want a really sparkly collar, I recommend using Kreinik size 12 tapestry braid. It’s one of my favorite metallic threads. A really pretty ruby red is their color number 003. Good luck and please keep me posted on your progress.
XOXO!
Ellen
This is exactly the help I was hoping you could provide! Thank you again, Ellen. I’ll be sure to send you a photo of Ruby’s collar upon completion.
I’m bookmarking your website for future reference; wealth of information found here.
Much obliged!
I’m so glad I could help. 🙂
It’s my pleasure and I look forward to seeing your finished project.
XOXO!
Ellen
PS: Thank you for your kind words about my website. 😉
Great information! I have a Christmas belt to stitch that has Santa faces and small gold stars on it. Is there a metallic thread that I can use on a belt? Thank you!
Thank you, Alexandra! I’m glad you found it helpful!! 🙂
My best suggestion for a metallic thread would be Kreinik. If you’re working on 18 mesh canvas, I’d use size 12 tapestry braid and if the canvas is painted on 13 mesh, you’ll want to use size 16 medium braid. My favorite Kreinik gold is #002. It’s available in all of the sizes of Kreinik braid. Hope this helps… and please keep us posted on your progress!
XOXO!!
Ellen 🙂
I tried to get the free download but it said it was no longer available. Blog Bonus: Tips for using metallic threads.
Can o]post another link please. Thank you!
Hi Lisa
Thank you so much for letting me know about the “whoopsie”. I’ll make a note to get it fixed. Please send an email to [email protected]. Grace will be happy to get that emailed to you ASAP.
XOXO!
Ellen
I’m working on 13 or 14 mesh and have Kreinik Metallics Medium #16 Braid. Do I us a single strand or a double strand on the canvas??? Thanks.
Hi Pattie!
That’s a terrific question. You can use a single strand of #16 braid on 13/14 mesh canvas.
Happy stitching!
Ellen 😊